
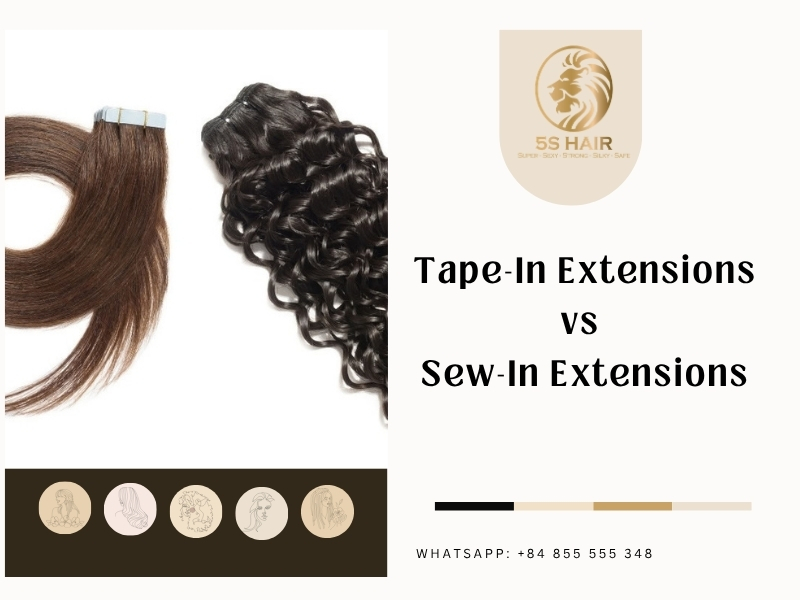
If you’re choosing between tape-in vs sew-in extensions, which method is suitable for you?
Well, the answer depends on a number of factors ranging from your natural hair type and thickness to how you typically style your hair, and especially to how much maintenance, styling flexibility, and scalp tension you’re comfortable with.
Tape-In vs Sew-In Extensions: What is The Biggest Difference?
The main difference between tape-in and sew-in extensions is how the hair is attached.
Tape-in extensions use adhesive panels to attach the hair. A thin section of your natural hair is placed between two extension wefts. Tape-ins are typically installed in 30–90 minutes, feel flat and lightweight, and generally suit fine to medium-density hair. They usually require repositioning after about 6–8 weeks and can be removed, cleaned, re-taped, and reused several times.
Sew-in extensions are attached by sewing the wefts onto braids made from your natural hair, usually cornrows. Installation often takes about 2 to 4 hours. The result offers stronger support for fuller volume. They are best suited to medium-to-thick, coarse, or textured hair and may last roughly 6–8 weeks, depending on growth and maintenance.
In short, choose tape-ins if you want a lightweight, discreet, and quick installation. Choose sew-ins if you need secure attachment, more volume, and more styling options. Both methods need the right weight, placement, and tension to protect your natural hair.
Tape-In vs Sew-In Extensions: Installation Process
As previously mentioned, the key distinction between tape-in vs sew-in extensions is how they’re installed. Tape-ins use pre-taped wefts that attach directly to sections of your natural hair. Sew-ins rely on a braided foundation and needle-and-thread stitching.
Tape-In Extensions Installation
Tape-in extensions are installed in about 30 to 90 minutes. Relatively quick.
- First, your hair is washed with clarifying shampoo, dried, and straightened. Conditioner, oils, and other products should be kept away from the roots.
- The stylist then creates clean horizontal sections, leaving enough natural hair around the perimeter and partings to conceal the bonds.
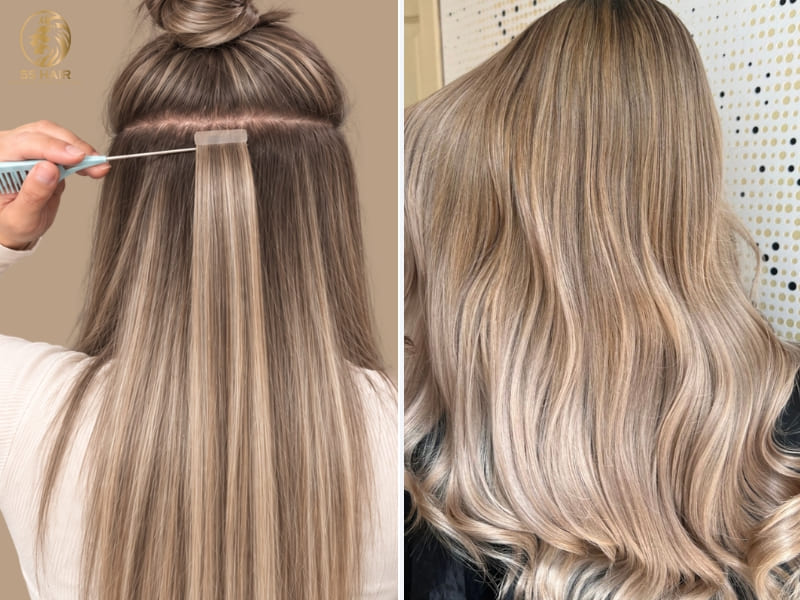
- For each section, the stylist places a thin slice of natural hair between two pre-taped extension wefts, creating a secure “sandwich.” The stylist presses the tabs together with a taping tool to remove air pockets and strengthen the bond. Some stylists may briefly use a flat iron to help activate the adhesive.
Sew-In Extensions Installation
Sew-in extensions take about 2 to 4 hours to install and require more hands-on styling.
- The natural hair is shampooed, deep conditioned, treated with heat protectant, and blown straight before installation.
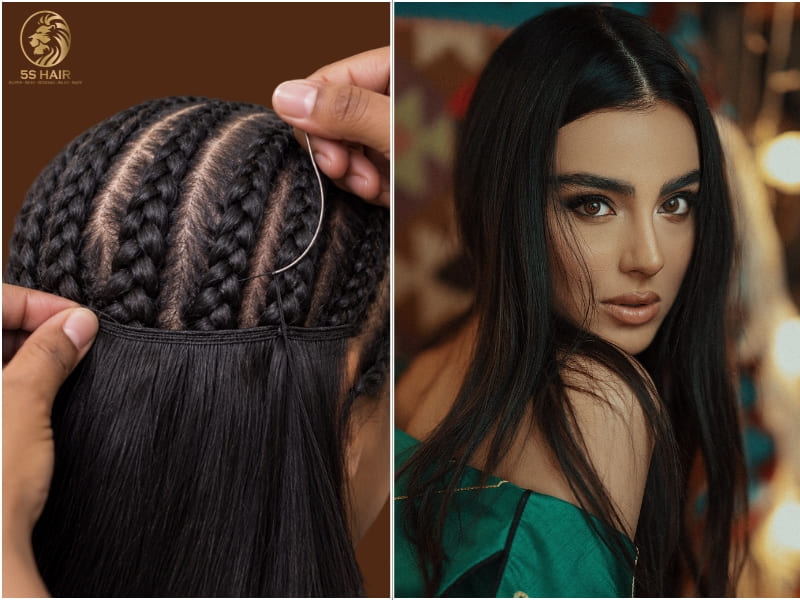
- The stylist creates a cornrow pattern close to the scalp as the foundation. With thinner or fragile hair, a protective net may be sewn over the braids to help distribute the extensions’ weight. Some natural hair is left loose around the top and edges so it can cover and blend with the tracks.
- Next, the stylist sews long extension wefts into the cornrows with a curved needle and weaving thread. Each stitch is secured while keeping the wefts flat without creating too much tension.
- After all tracks are attached, the leave-out is styled and blended with the extensions using hot tools for a seamless finish.
>>> My hair is so thin after extensions – Professional guide to recovery
Maintenance and Longevity
Tape-in and sew-in extensions use different attachment methods. Both usually need professional maintenance every 6 to 8 weeks. Tape-ins are removed, re-taped, and moved up. Sew-ins are taken out and reinstalled with new braids.
Tape-In Extensions
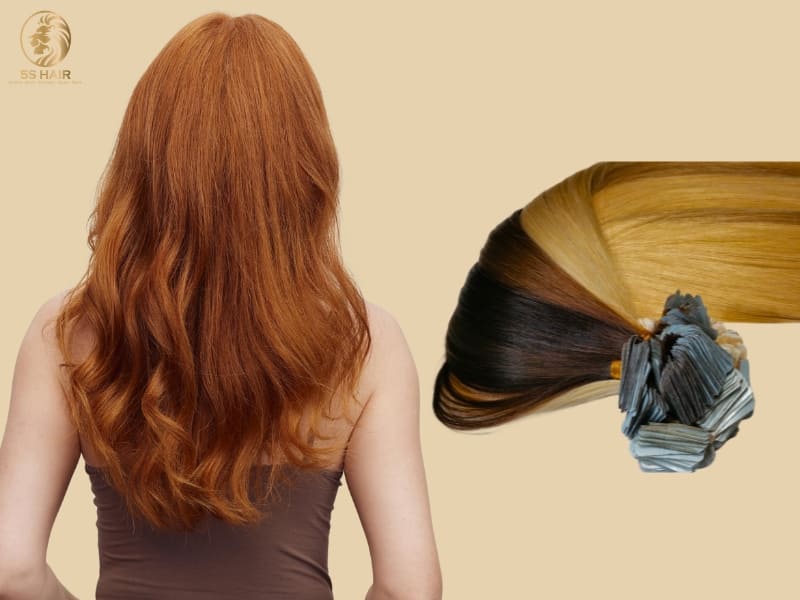
How long do tape in extensions last? Tape-in extensions usually need to be moved up every 6 to 8 weeks. If your hair grows quickly or is fine, you may need maintenance sooner. At your maintenance appointment, the stylist removes the tape panels, cleans away the old adhesive, applies replacement tape, and positions the extensions closer to the scalp. With proper care, the extension hair itself may remain usable for around 6–12 months.
Sew-In Extensions
Sew-ins generally require maintenance around 6–8 weeks. This depends on hair growth, scalp comfort, and the condition of the braided foundation. The stylist takes out the thread and braids, detangles and checks your own hair, creates a new braid foundation, and sews the weft back in.
Sew-in extensions may last a bit longer each time because they do not depend on adhesive. The weft hair can last about 6 to 12 months with good care. Schedule removal or maintenance if the braid has grown far from the scalp, feels painful or loose, is hard to clean, or if you notice odor, dampness, itching, or matting.
Styling and Comfort
Tape-ins feel flat and light. They work well for wearing hair down or in relaxed styles. Sew-ins create a thicker base. They support fuller looks, curls, and updos. Sew-ins may feel tight or bulky at first.
Tape-In Extensions
Tape-ins work especially well for:
- straight hair,
- soft waves,
- low ponytails,
- and everyday styles where the hair remains down
High ponytails and tight buns can be difficult with tape-ins. Pulling the hair up may cause the tape panels to twist, become visible, or create tension. If the client often wears updos, placement must be careful.
Tape-ins can be curled or straightened, but never apply heat directly to the adhesive. They are often comfortable for long-term wear.
Sew-In Extensions
Sew-ins provide a secure foundation that supports:
- fuller volume,
- curls,
- waves,
- braids,
- buns,
- and high ponytails
Choosing the right braid pattern, leave-out, closure, or frontal can help with styling versatility and parting options.
Because the wefts are physically secured rather than attached with adhesive, heat styling is generally more flexible. Still, always use heat protection.
The trade-off is that sew-ins can feel heavier at the roots. Tight braiding or heavy extensions can cause soreness, itching, headaches, or tension in the first few days.
Tape-In vs Sew-In Extensions: What Does Each Method Cost?
In the U.S., a first-time tape-in extension professional appointment usually costs $400-$1,400. A sew-in or weave commonly ranges from $350 to $1,200 or more. These prices include both the hair and the installation.
| Cost factor | Tape-In Extensions | Sew-In Extensions |
| Hair | $200–$800 | $200–$800+ |
| Initial installation | $200–$600 | $150–$400+ |
| First appointment | $400–$1,400 | $350–$1,200+ |
| Maintenance | $100–$300 (every 6–8 weeks) | $100–$300 (every 6–8 weeks) |
The final quote also depends on several factors: salon location, stylist experience, extension length, hair density, hair quality, and what is included in the package.
>>> 5 Best Vietnamese Hair Factory in USA with Wholesale Prices
Daily Care and Aftercare Differences
Both tape-in and sew-in extensions need gentle handling, careful washing, and thorough drying.
How to care for tape-in extensions:
- Brush tape-ins gently from the ends up. Use an extension loop or soft-bristle brush and support the roots. Brush often to prevent tangling, but do not pull on the tape.
- When washing, use lukewarm water. Massage the scalp gently. Do not scrub, twist, or pull the tabs.
- Do not let conditioner, oils, waxes, hot-oil treatments, or oil-based serums touch the adhesive. Apply conditioner and leave-in products only from the mid-lengths down.
- Use dry shampoo sparingly and keep it away from the tape.
- After washing, blot the hair instead of rubbing. Dry the attachment area completely. Use low heat if needed.
- For the first 48 hours, do not wash or wet your hair. Avoid tight ponytails and heavy styling products. For daily wear, choose loose, low hairstyles. Use a silk or satin pillowcase if possible. During exercise or swimming, secure hair loosely. Rinse hair soon after and do not leave it wet.
How to care for sew-in extensions:
- Detangle sew-ins carefully around the sewn rows. Brush from the ends up and support the hair near the tracks. Work in sections so the brush does not catch the thread or weft.
- When washing, use your fingertips to gently clean the scalp and between the rows. Do not scratch or rub the braid foundation.
- Apply conditioner to the lengths and ends only. Do not let products build up around the scalp, braids, thread, or weft. Oils and styling products are less restricted than with tape-ins, but too much buildup can make the scalp hard to clean.
- Always keep the foundation dry. After washing, exercising, or swimming, dry the scalp, braids, roots, and hair completely under the rows.
- At night, use a loose braid or low ponytail. Cover with a silk scarf or bonnet to protect the style.
- For the first 24 to 72 hours, follow your stylist’s instructions before washing. Do not use tight styles or handle the scalp too much. If you have pain, severe tightness, swelling, or headaches, contact your stylist.
Tape-in extensions can stress natural hair if the adhesive isn’t removed properly. The main risk comes from pulling or lifting the panels too hard. This can leave adhesive on your hair, which may make you want to tug or brush through sticky spots. Pulling at these areas can cause breakage and hair loss. To avoid this, always dissolve and loosen the adhesive before taking out the extension. Gently clean away any leftover residue instead of pulling it out. If the bonds are tangled or hard to remove, it is best to have a professional do it.
Sew-ins use a braided base, so it is important to watch for tension during installation. Braids or wefts that are too tight can put pressure on your scalp and stress your natural hair. Too much tension over time can lead to traction alopecia, especially near the hairline and edges. A sew-in should feel secure but not painful. If you feel pain, soreness, headaches, stinging, bumps, or pulling, the sew-in may be too tight. Tightness does not mean the style is secure. If you still feel discomfort after getting a sew-in, have the style checked and adjusted instead of ignoring the problem.
The Takeaway
If you’re trying to decide between tape-in and sew-in extensions, it really depends on your own hair and what you like to do with it. Tape-ins are lighter and feel super flat, plus they go in fast, which is great if you don’t want to spend all day in the chair. Sew-ins are sturdier and give you more volume, so if you love a big blowout or putting your hair up, they might be your move. I always think about how much time I want to spend styling and what my hair can actually handle before I pick a method.
Frequently Asked Questions About Tape-In and Sew-In Extensions
Which method fits your natural hair?
Tape-ins are generally better suited to fine, thin, fragile, straight, or medium-density hair. They work especially well when the hair is usually worn down, straight, softly waved, or in loose, low styles.
Sew-ins are often a better match for medium, thick, coarse, or textured hair. They are also useful for clients who frequently wear curls, braids, high ponytails, buns, or other structured styles.
How should you sleep with tape-in or sew-in extensions?
Before bed, gently detangle your extensions. Loosely braid your hair or tie it in a low ponytail. Sleep on a silk or satin pillowcase, or use a silk or satin scarf or bonnet to help prevent friction. Make sure your hair and the areas where the extensions are attached are fully dry before you go to sleep.
Which is safer for your natural hair: tape-ins or sew-ins?
Both tape-ins and sew-ins can be safe if done correctly. Tape-ins may cause pulling or breakage if the adhesive is not removed the right way. Sew-ins can put too much tension on your hair if the braids are too tight. To protect your natural hair, make sure extensions are installed properly, use the right weight, and keep up with regular maintenance.
