I-tip hair extensions are a great product for people who have thin hair and want to make it thicker. However, to apply it to the top is quite expensive and complicated. Therefore, this article will answer all your questions about how to apply I-tip hair extensions easily and effectively.
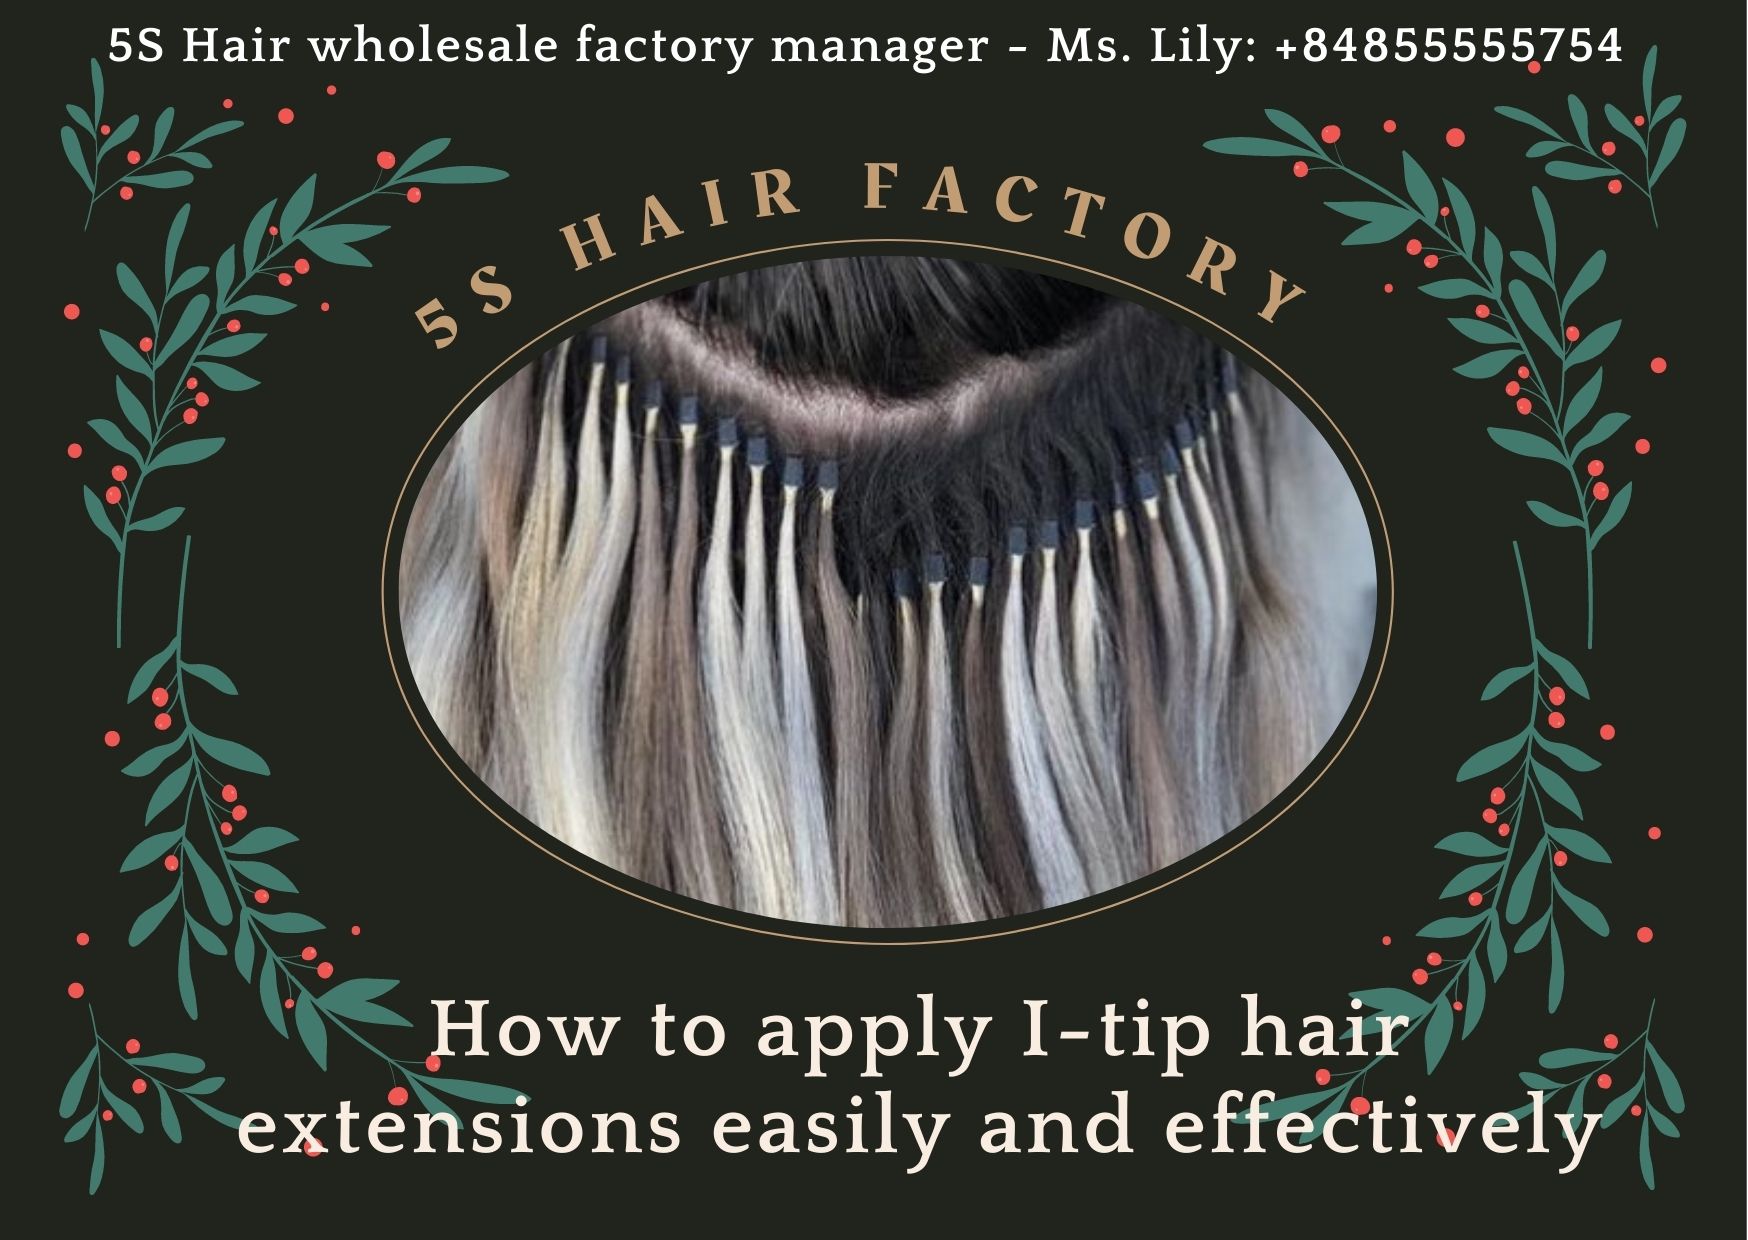
How to apply I-tip hair extensions easily and effectively
Why you have to know how to apply I-tip hair extensions
I-tip hair extensions are a special type of hair extension and don’t come cheap, so you need to know how to apply I-tip hair extensions to see if it’s right for you.
Features of I-tip hair extensions
Before exploring how to apply I-tip hair extensions, you should know some information of I-tips hair extensions.
- I-tips hair extensions are a form of hair extension that uses flattened microbeads or metal cylinders to attach to your natural hair.
- I-tips hair extensions are most suitable for people with long, healthy hair that does not use chemicals such as straighteners or curlers.
- With the added weight of the I-tip hair extension, those with fine, unhealthy, or thinning hair risk damage to their delicate texture.
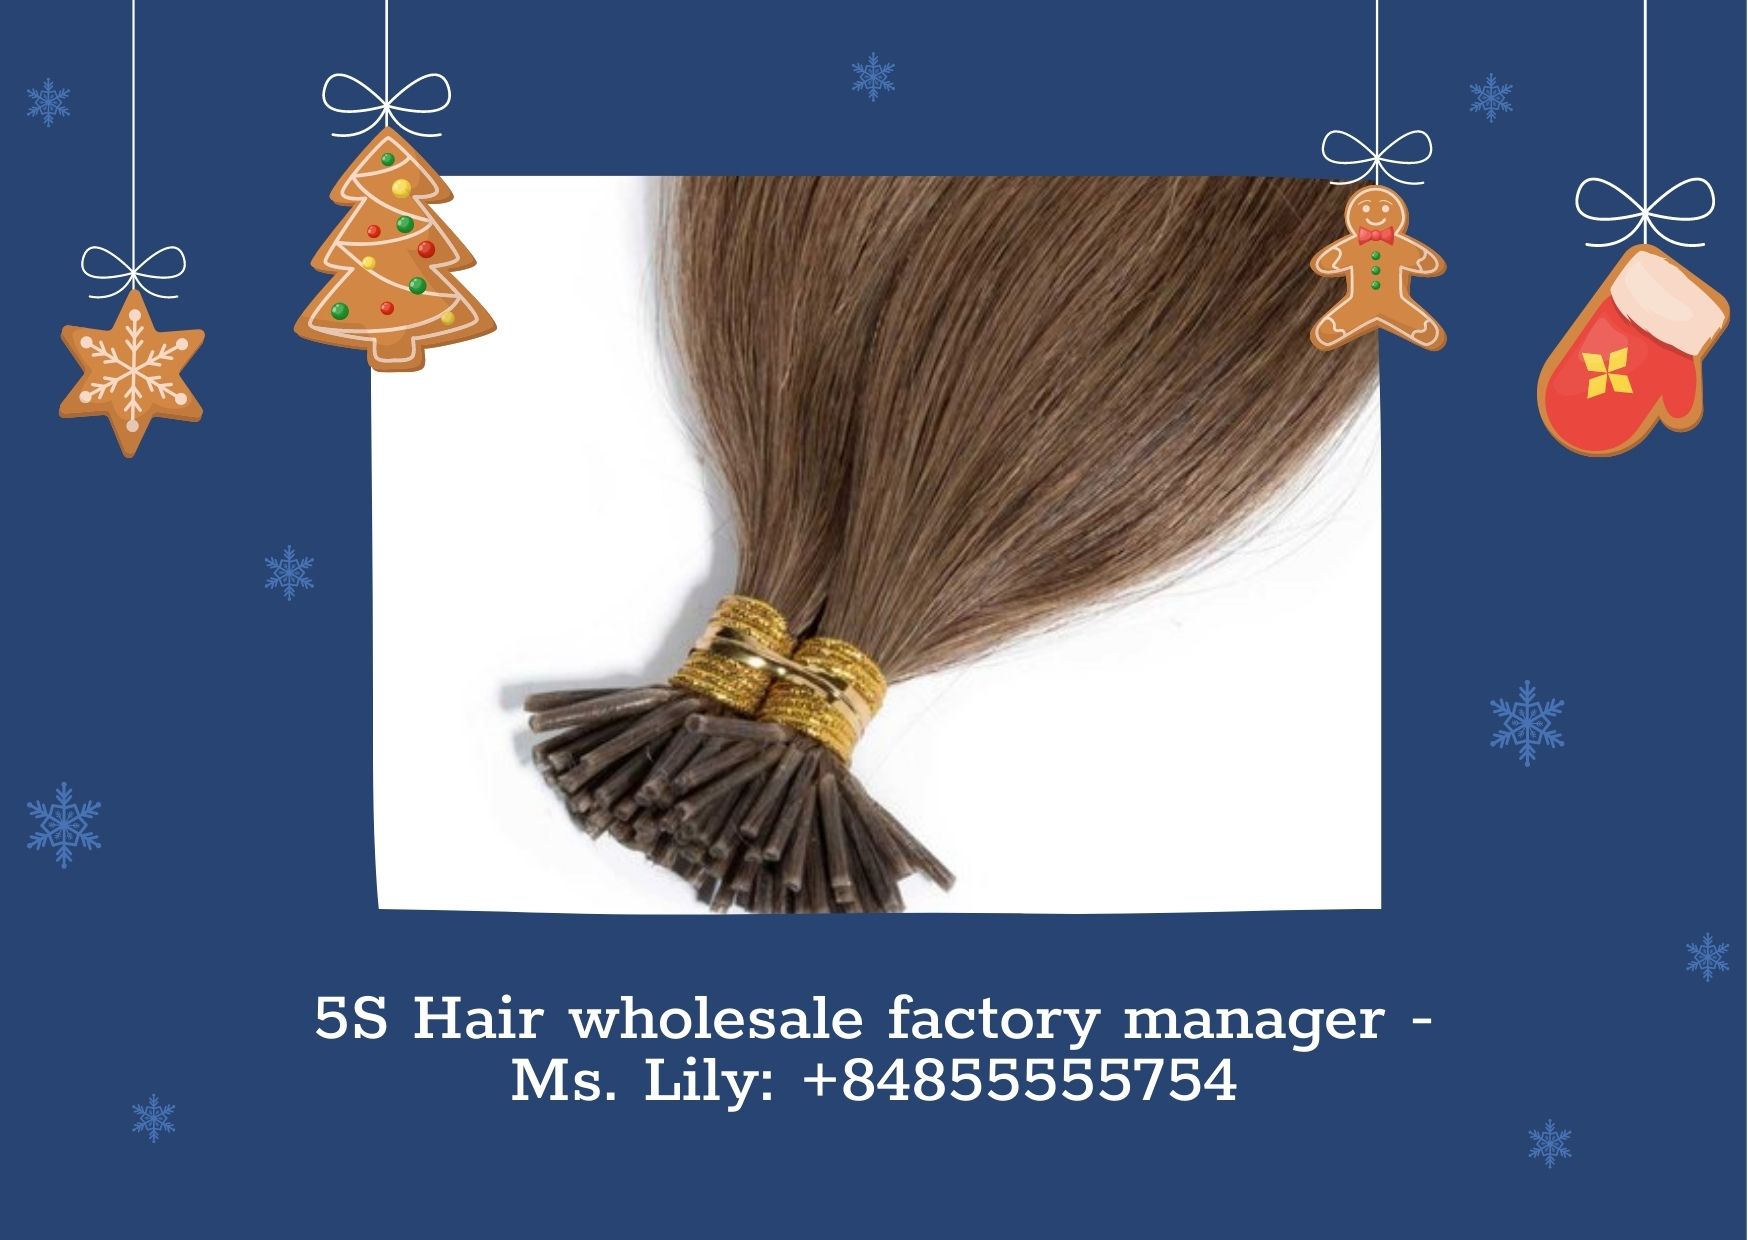
Features of I-tip hair extensions
Because I-tips hair extensions are difficult to apply without the necessary skill and technique, it is critical to learn how to apply I-tip hair extensions ahead of time.
The reason why you have to know how to apply I-tip hair extensions
You need to know how to apply I-tip hair extensions for many reasons such as financial problems, how difficult it is to take care of, whether it is convenient or not to know if it is right for you.
- I-tip hair extensions aren’t cheap, so it’s best to think of it as a long-term investment. The cost will vary depending on the texture and length. When you surpass the standard length of 12 – 14 inches, you might pay an extra $5 – $10 each bundle. So if you don’t have a budget, don’t choose it.
- In general, consumers are occasionally perplexed as to how to apply I-tip hair extension. Unlike clip-in or tape-in hair extensions, putting in an I-tip hair extension is extremely difficult for someone who is purchasing hair extensions for the first time. Applying an I-tip hair extension can be done at home but you have to be careful.
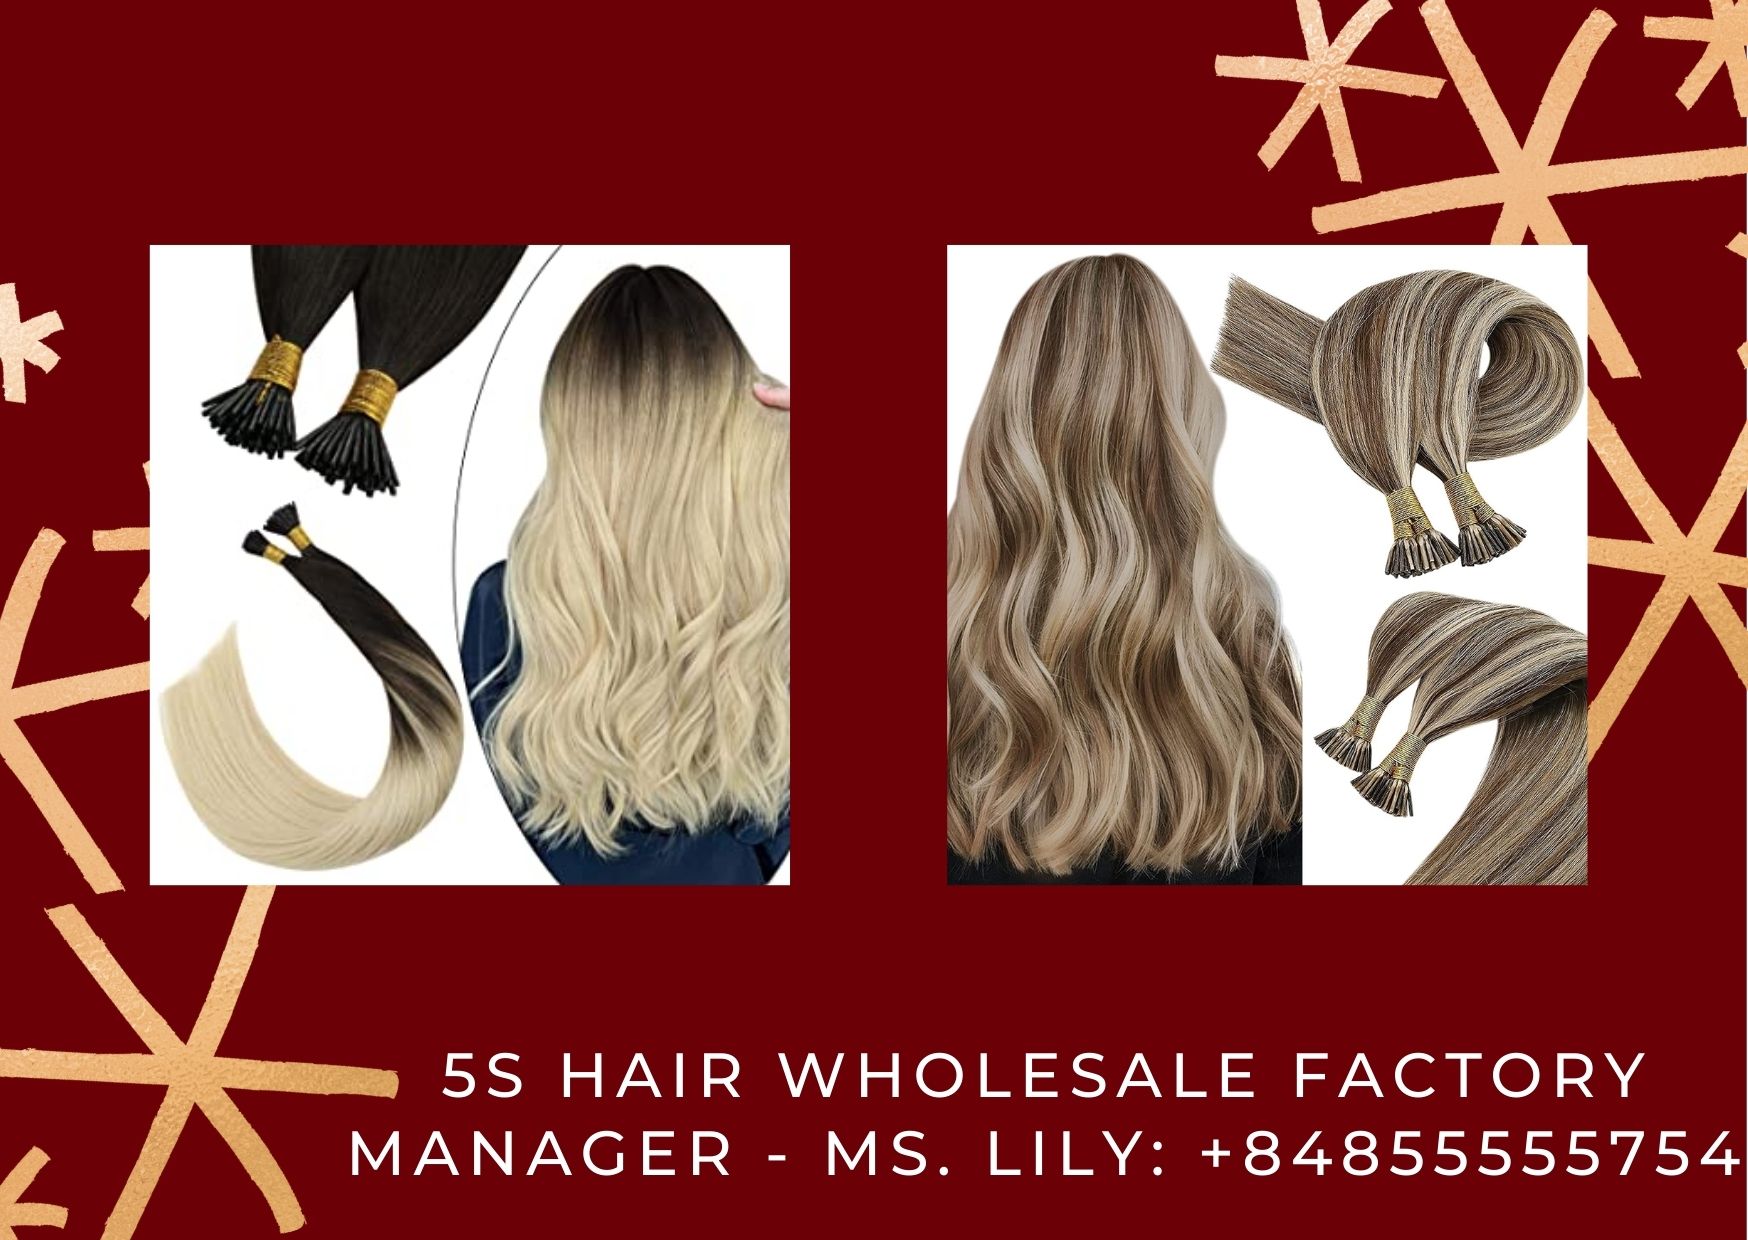
The reason why you have to know how to apply I-tip hair extensions
- Didn’t know about how to apply I-tip hair extension would harm your hair. Applying it requires pliers and so if you don’t know how, you could hurt yourself.
- Knowing how to apply I-tip hair extension will make it easier for you to take care of your hair. Since it uses glue, special care will be required for the hair to last longer.
Some false information regarding how to apply I-tip hair extension
There are already a lot of websites that provide inaccurate information regarding how to apply I-tip hair extension, causing some users to break their hair as a result of following those instructions.
- Is I-tip hair extension not suitable for coarse hair? No problem. I-tip hair extensions are really safe for all hair textures but some hair types are more suitable because I-tip hair extensions will make hair heavier.

Some false information regarding how to apply I-tip hair extension
- Putting I-tip hair extension on the head with too short hair at home is very dangerous because the needle will react with the chemicals. So go to a reputed hair shop or a YouTuber to learn how to apply I-tip hair extension to protect yourself.
For people who are new to utilizing hair extensions for aesthetic purposes, learning how to apply I-tip hair extension is essential. In the next section, we will give you the most specific instructions on the process of how to apply I-tip hair extension.
Detailed instructions about how to apply I-tip hair extension
In this section, I’ll show you how to apply I-tip hair extension in the simplest and most straightforward way possible at home. It will contain three essential stages for every type of weft hair extensions: measure your hair, install your weft hair extensions, and finish.
The first step: measure your natural hair
This is one of the most critical ways to help you split your hair and make the process of how to apply I-tip hair extension go more smoothly.
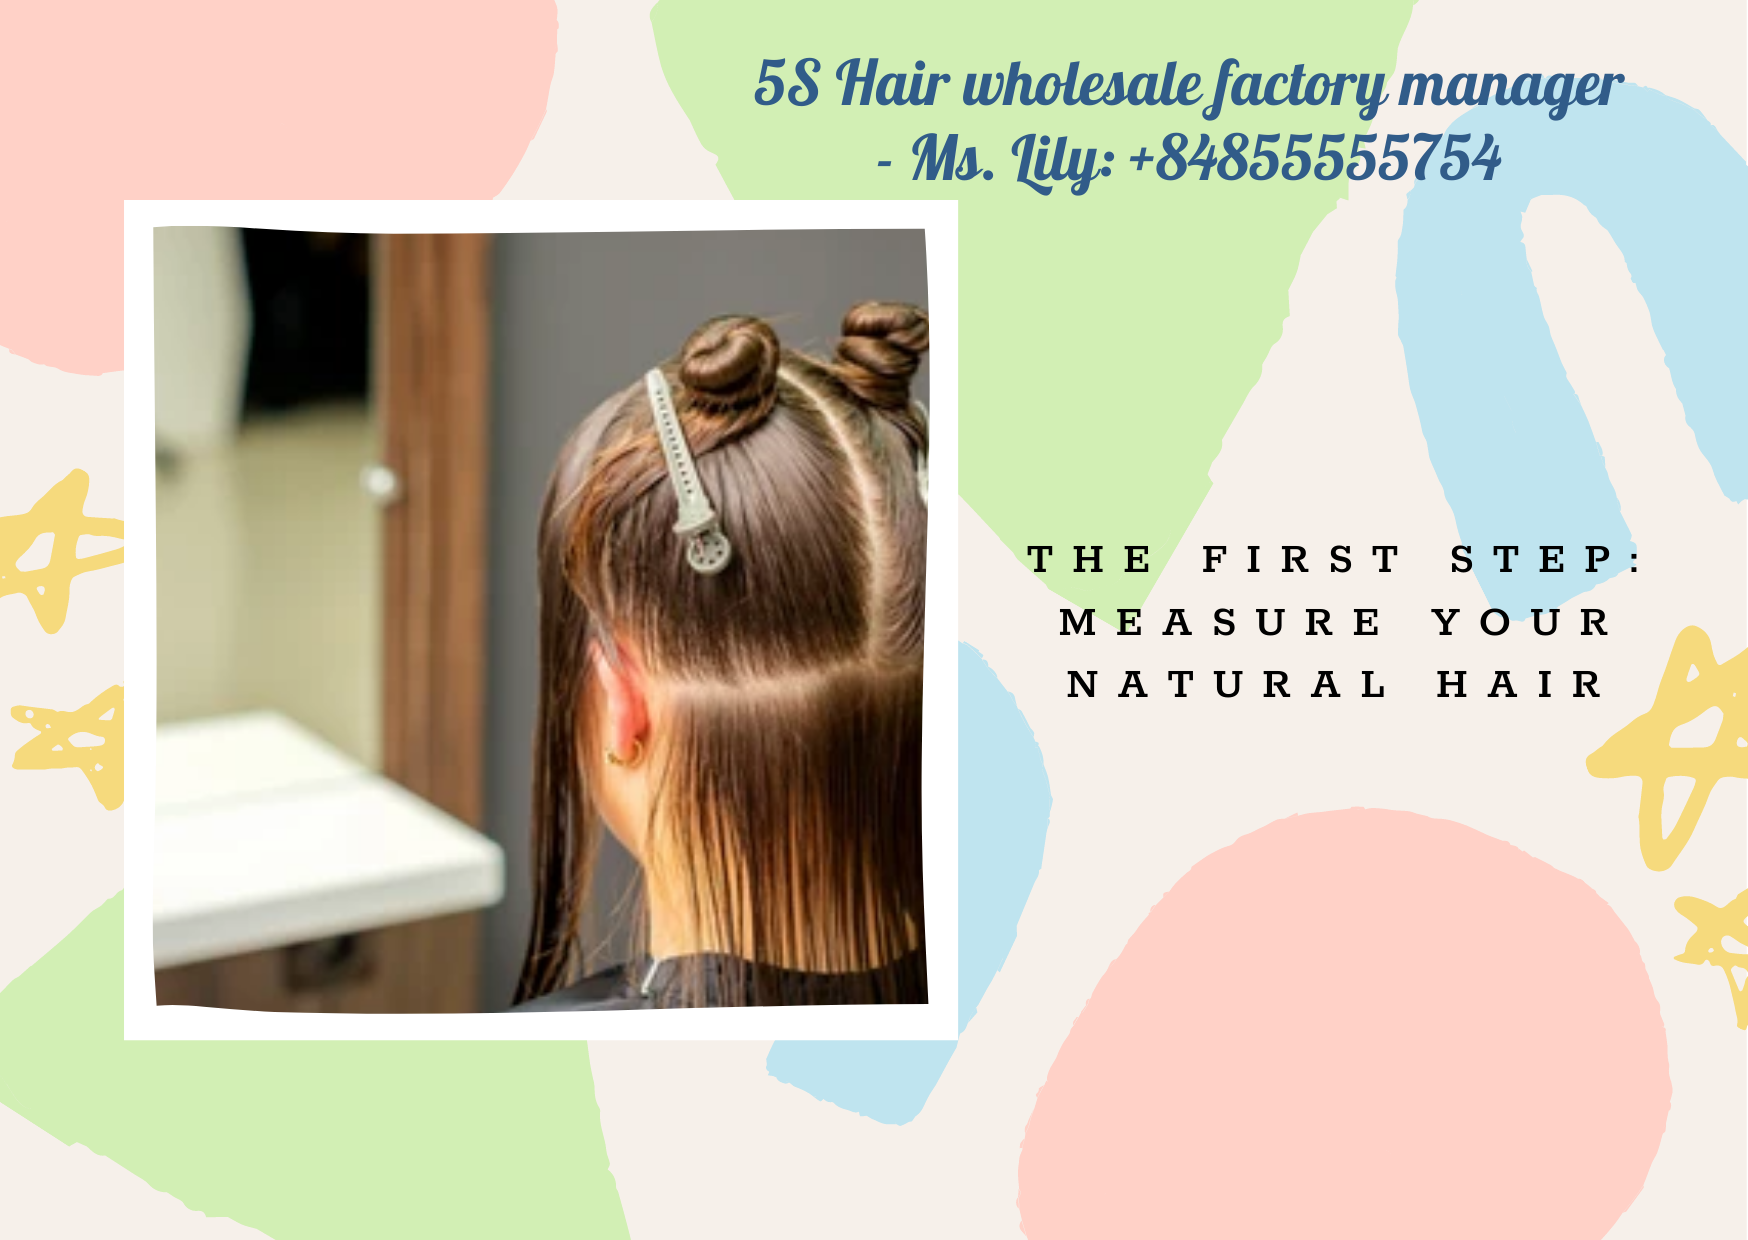
- Smooth your hair with a comb, then split it into pieces with a rat tail comb. Normally, people draw a horizontal line about 2-3 inches long from the nape of the neck across the back of their heads.
- Use a hairpin or an elastic band to secure the rest of your hair.
Detailed instructions about how to apply I-tip hair extension
- Once more, smooth the thin portion of hair underneath. This will help prevent knots between the extensions and the original hair, making the process of how to apply I-tip hair extensions easier.
⇒ Click here to see more about how to apply weft hair extension
The most important aspect of how to apply I-tip hair extensions
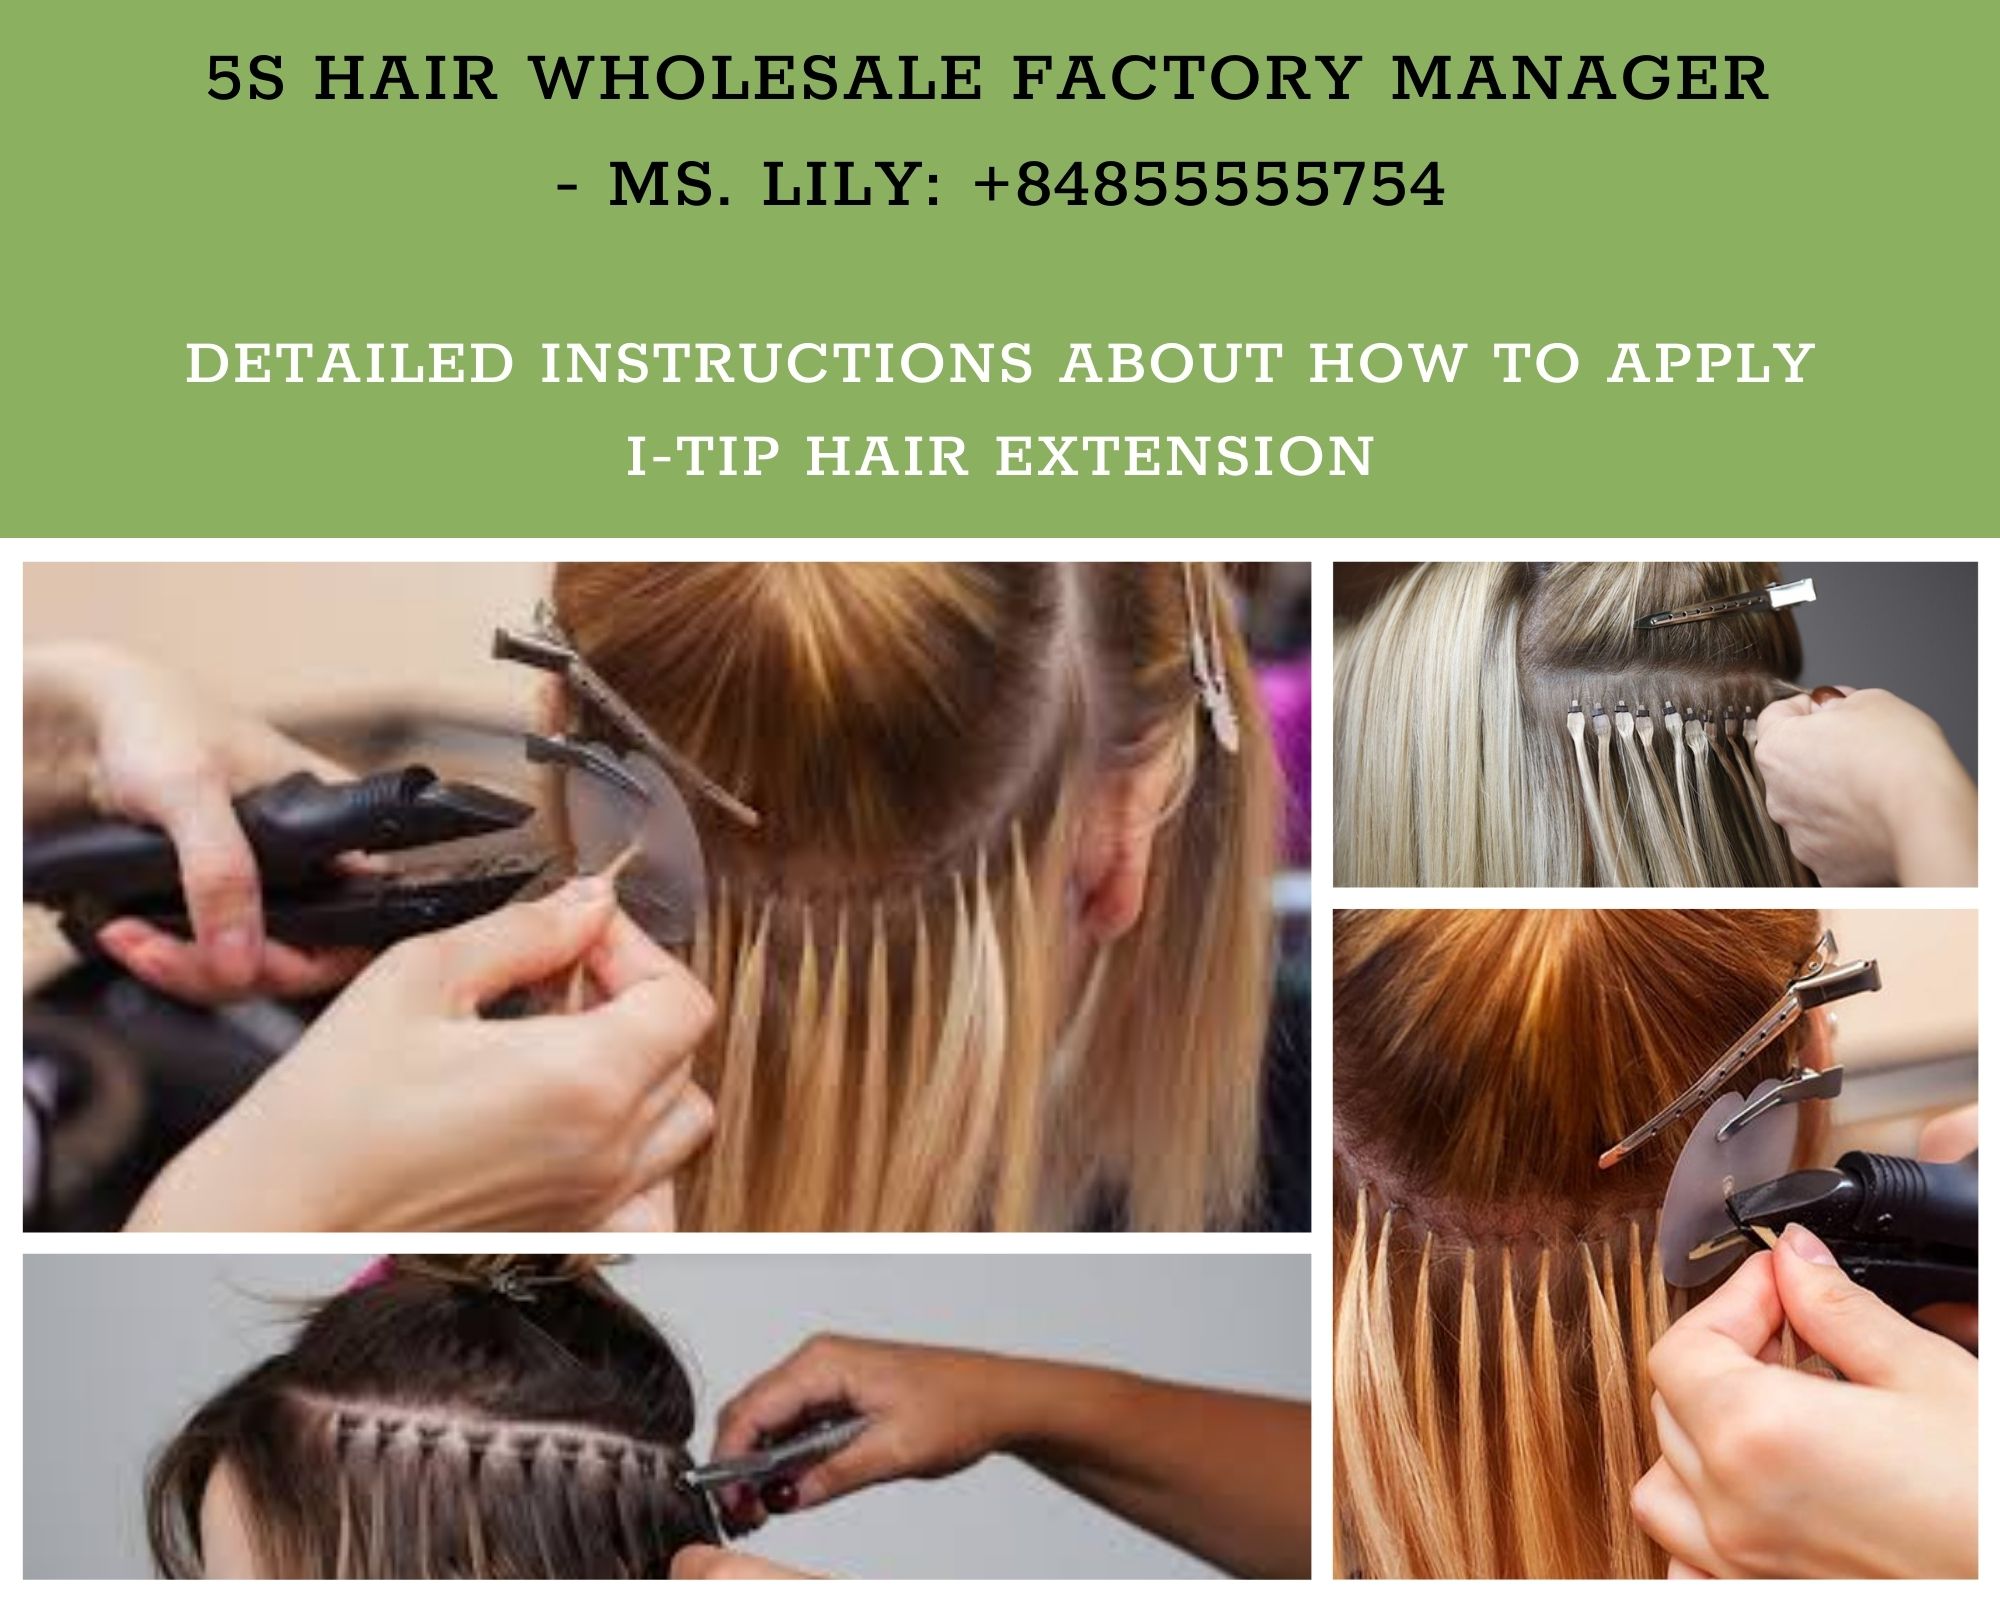
This is the most crucial step in determining whether or not the hair extension can be secured to your hair using the horizontal hair extension method. This style of hair takes around an hour and a half to create, and the user must be familiar with how to apply I-tip hair extensions.
- You will do this row by row. Divide your hair into very small buns and then thread your hair through the beads.
- Then, take a small amount of outer hair and tuck it inside the bead along with your natural hair.
- Use pliers to close the bead firmly to hold the hair in place. It is necessary to adjust the hand force to avoid breaking the hair. Continue doing the same with the remaining rows of hair.
The most important aspect of how to apply I-tip hair extensions
The hair strands and beads might easily confuse a newcomer. Learn how to separate your hair, how to put in the appropriate number of hair strands, how to get hair strands through the beads, and how to seal the beads. As a result, even though there are numerous guides on how to apply I-tip hair extensions, this is very easy to fail when you do it at home.
The final step: Finish your process
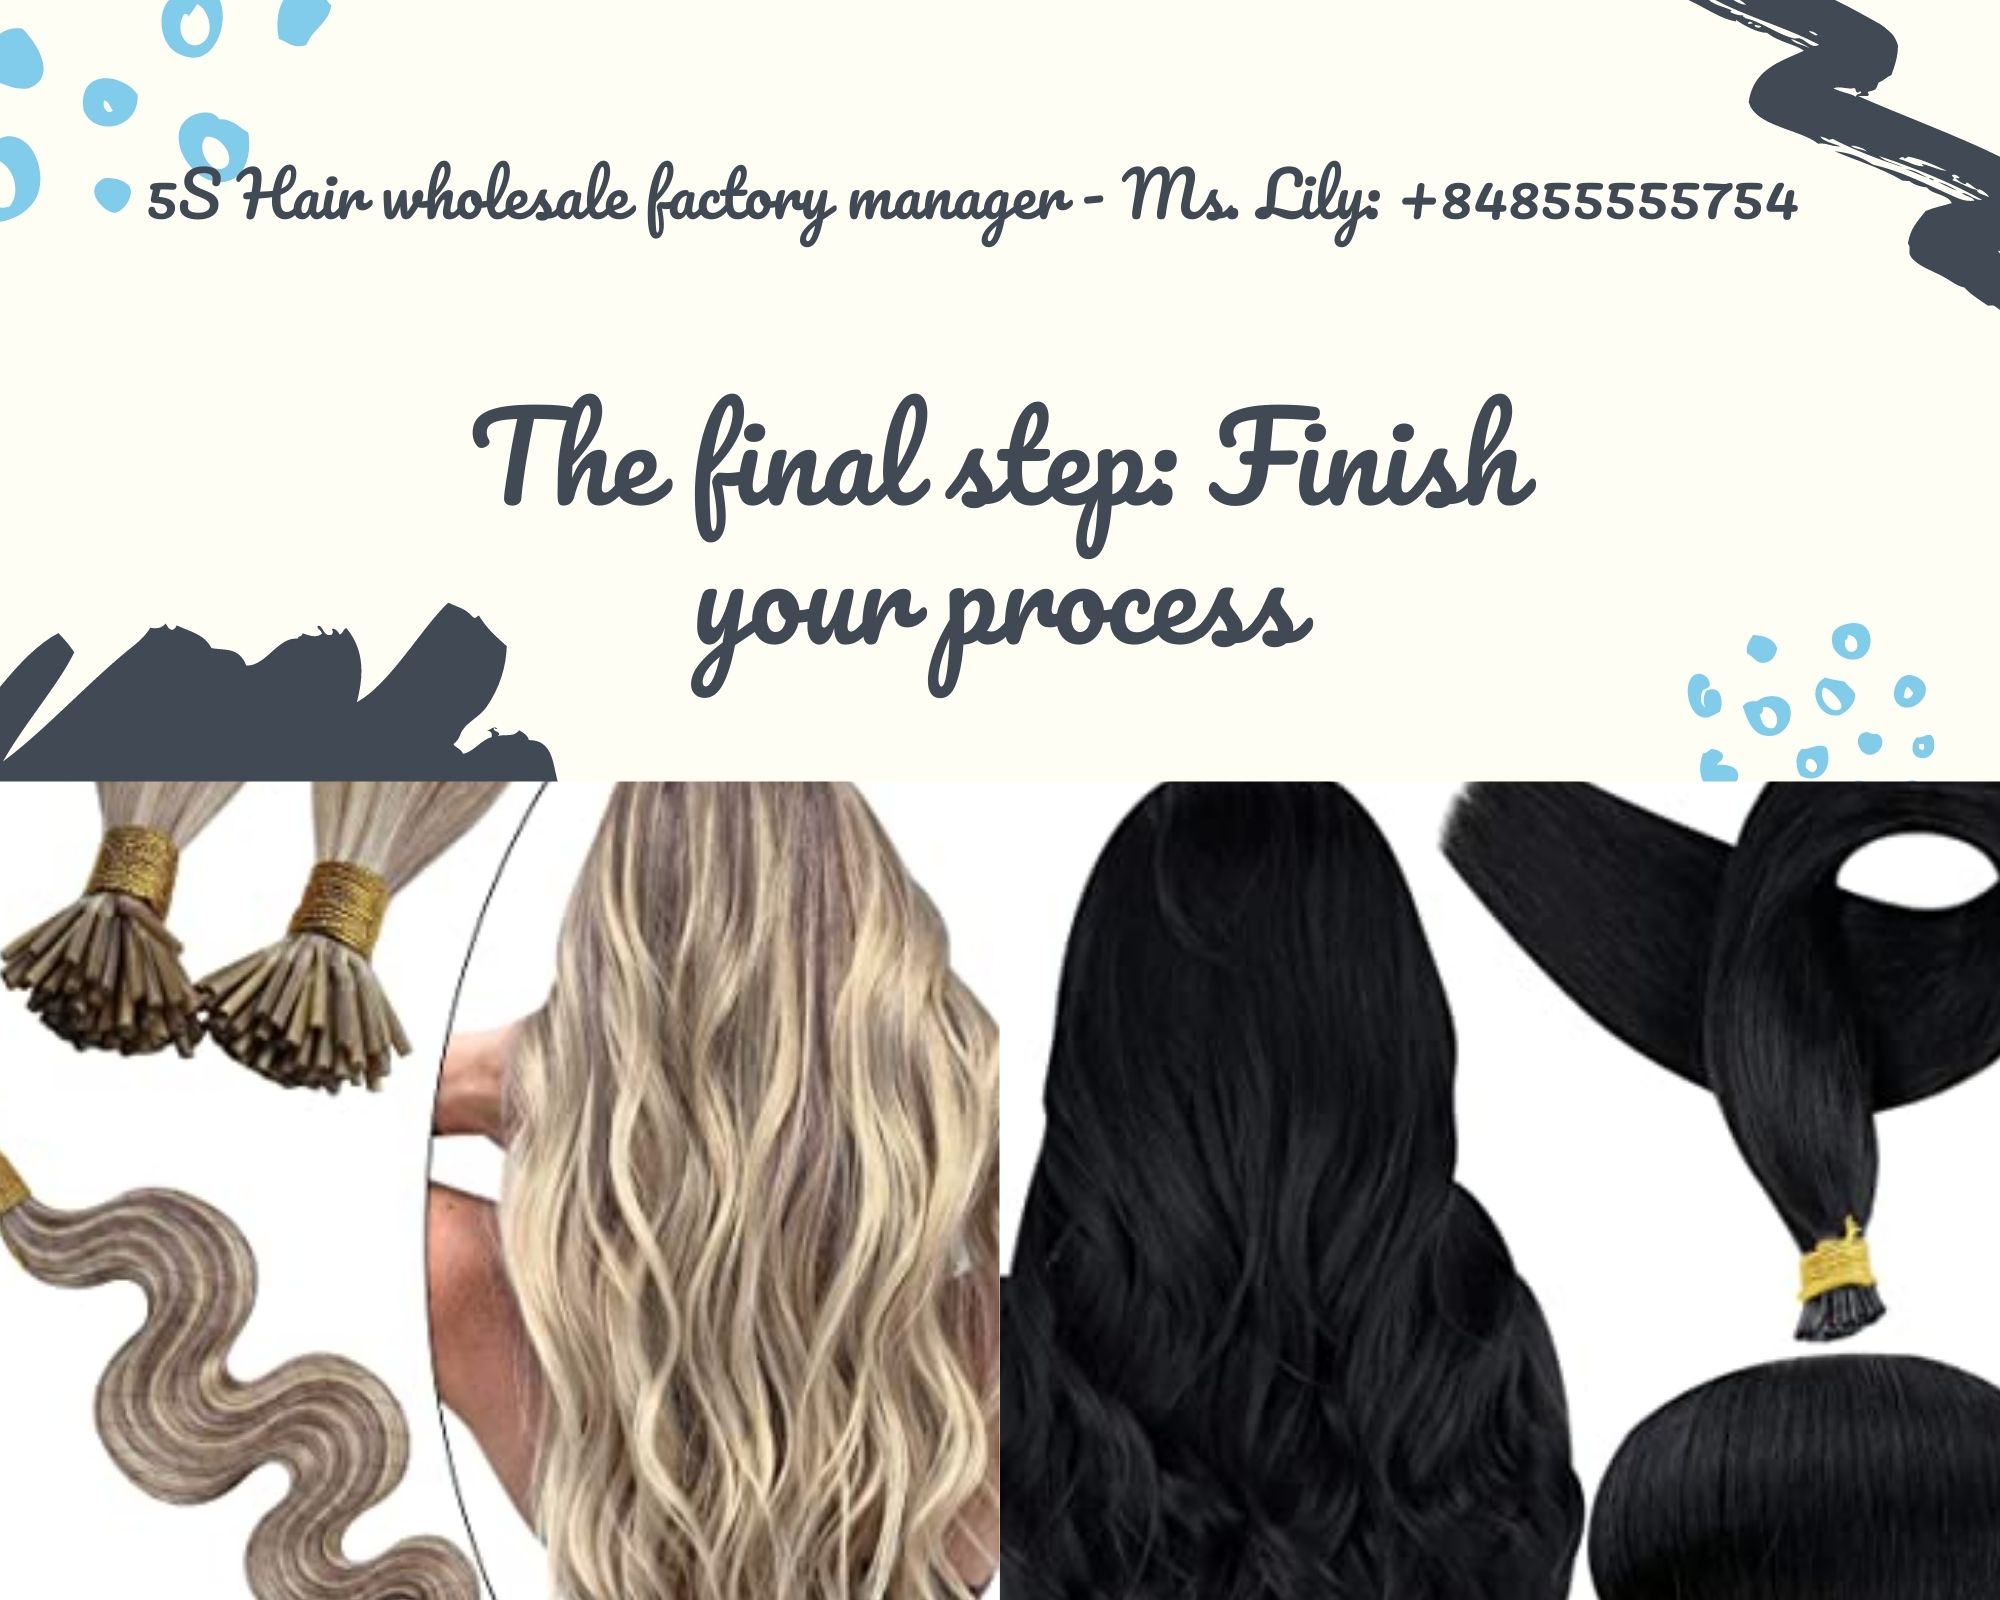
After you have applied all the I-tip hair extensions on your head, drop the hair you originally tied up over them. It will look very natural.
- The way to wash and comb your hair with I-tip hair extensions can be incredibly difficult. Maintain the extension with caution and extra time.
- Please inquire about and purchase high-quality hair kinds. Because even if you know how to apply I-tip hair extensions, buying low-quality hair will not provide you with a high level of beauty.
- To guarantee that your extensions stay as long as possible, you must maintain them on a regular basis to ensure that the particles do not pull too hard on your natural hair, causing it to lose its shape and cause damage. Once you know how to apply I-tip hair extensions well, you can do your own maintenance at home.
The final step: Finish your process
5S Hair Factory – Great supplier to help you dispel every worry about how to apply I-tip hair extensions
5S Hair Factory is the best supplier of hair extensions in Vietnam, specializing in providing high quality hair extensions for wholesale made from 100% Vietnamese hair at the most affordable prices.

5S Hair Factory – Great supplier to help you dispel every worry about how to apply I-tip hair extensions
- 5S Hair Factory is a reputable supplier for many markets and major wholesalers in the world such as Nigeria, UK wholesale hair extensions suppliers… so you don’t need to worry about quality and feel free to use what you learned about how to apply I-tip hair extensions.
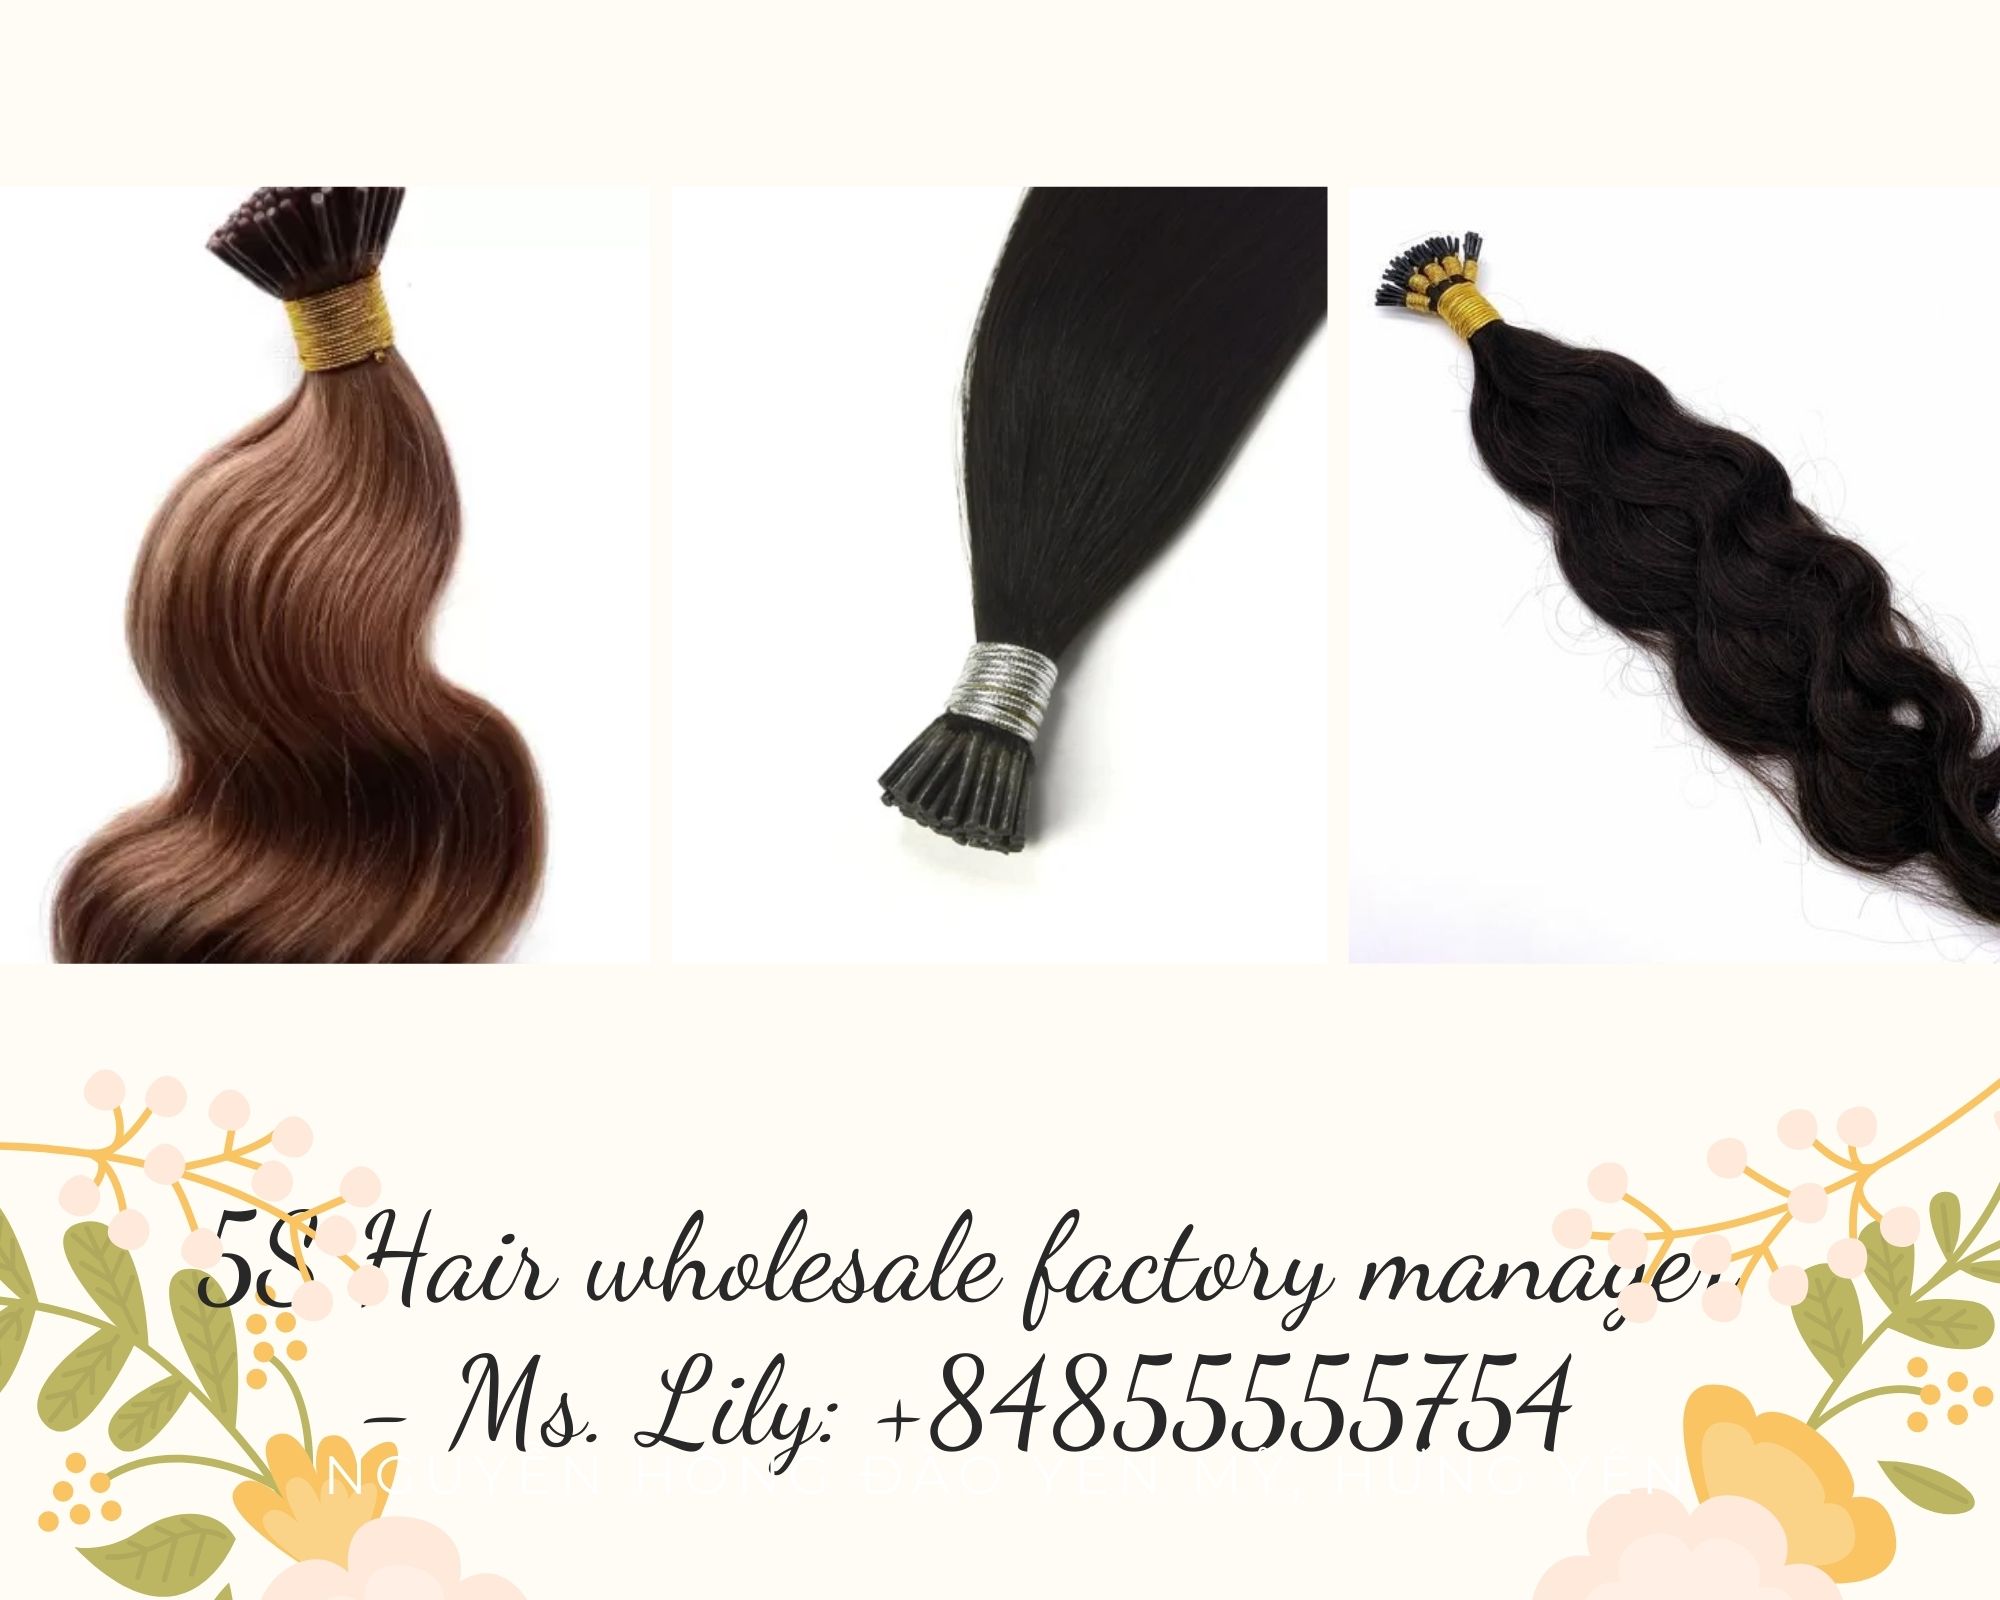
- In addition to providing affordable and high-quality hair, 5S Hair Factory also updates the latest fashion trends for customers and shares great tips about how to apply I-tip hair extensions and other hair extensions.
- Not only that, 5S Hair Factory also has an extremely affordable price, the best among hair extension suppliers in Vietnam.
5S Hair Factory also updates the latest fashion trends for customers and shares great tips about how to apply I-tip hair extensions
I hope the information in the preceding article has answered all of your questions about how to apply I-tip hair extensions. I hope the information I’ve just presented will be really beneficial to you. Please meet 5S Hair CEO or contact us via WhatsApp if you have any questions regarding purchasing hair extensions in bulk:
- Website: 5shair.com
- WhatsApp: Ms. Lily-5S Hair Manager- +84855555754
- Instagram: 5s_hair_vietnam_official


